
The Service Bureau requires PDF’s for our laser printing services. This way the file we receive are a press-ready PDF with fonts and artwork embedded.
Following the file preparation guides for Adobe Illustrator, Photoshop and InDesign below we will help you send us the best possible files in order to set up the best possible plates.
We have also included information for best practices when using images in your artwork.
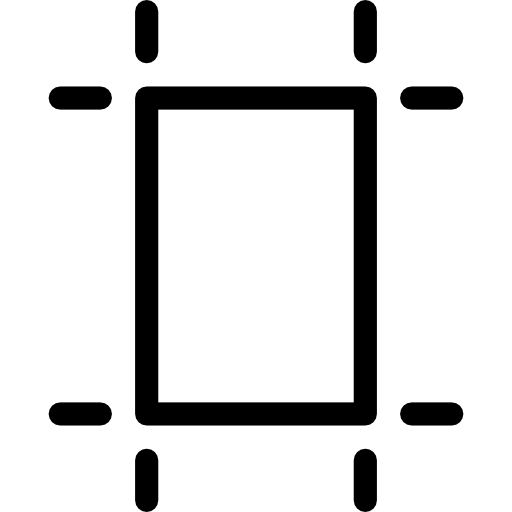
Basic Guidelines – Transparency Size
1 sheet of 11″ x 17″ is $2.20
1 sheet of 8.5″ x 11″ is $1.10
The printer cannot printer borderless, all prints will have a roughly 0.125-0.25″ white border, we recommend to size your file to be smaller or to leave a white border on your images. You can also select ‘Fit to Media’ when selecting the Media type and we will shrink or enlarge your file to fit the paper you selected.
You can gang up as many smaller pieces that fit on those dimensions
Largest plate size for our polymer machine: 10″ x 16″
NOTE: Your image area / negative must be slightly smaller than the plate.
The file you send to order your negative must be:
—black and white only, no grey scale or color
—press-ready PDF with fonts embedded
—reversed tonally
—wrong reading
Software Options
Illustrator works very well for drawing artwork and setting type. Before sending your Illustrator file to us, save the layout as a PDF. Also, embed all linked images (an option in the Links palette).
InDesign work very well for typesetting and multiple-page layouts. Preferred file format: exported PDF (File > Export as > Print / Press ready PDF – not Interactive.)
Photoshop should only be used for imagery. Save your image as a TIFF and place it into another program (Illustrator or InDesign) where you add your type.
For images, refer to our File Prep tip below on changing to image mode of bitmap. If you only have Photoshop, start with a document that is 600-1200 dpi (maximum). This will be a large file however to start, but when you save your file later as a TIFF, use LZW compression to make this file smaller and more easily managed.
 File Preparation
Black Settings – Best Practices
Please be aware that in any of the Adobe software when you are creating artwork you will need to use 100% black. The problems that can arise when this isn’t done are areas in your transparency that appear grey. This will result in an unusable plate.
Make sure your document is in CMYK mode when starting to edit your file.
Illustrator + Photoshop:
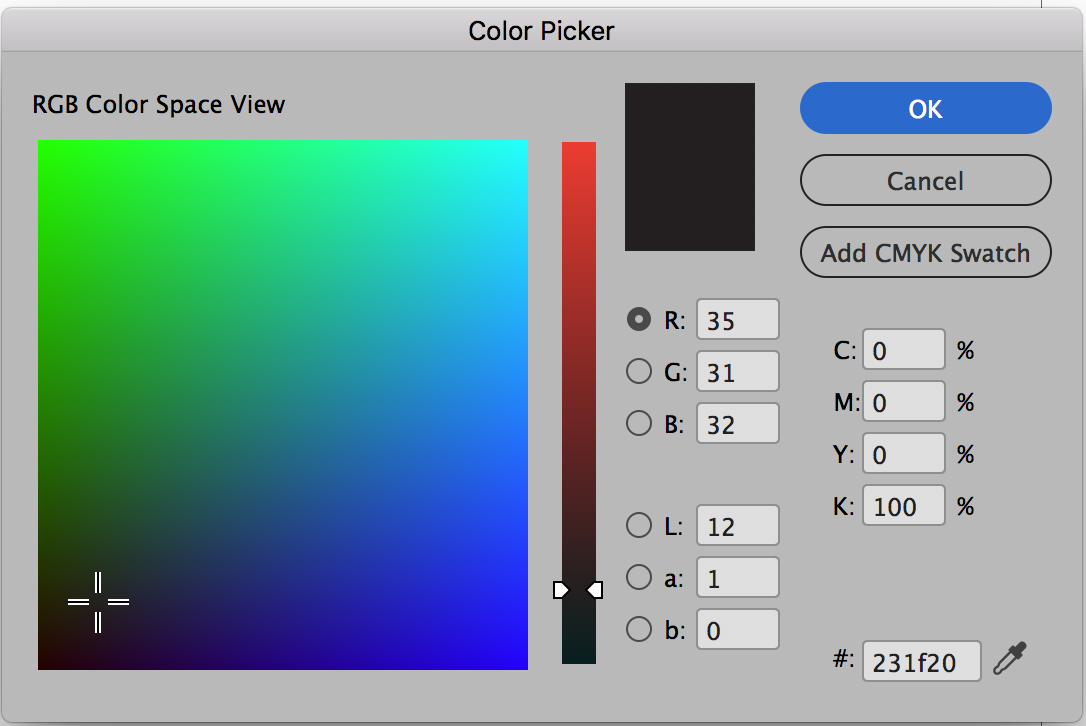
Choosing colors: When using the Color Picker in Illustrator and Photoshop, use 100% Black (K) only in CMYK mode.
In Illustrator + Photoshop, the only black your submitted file should use is 100% CMYK black. The image below is the correct settings.
Pay attention to the C/M/Y/K numbers ONLY. You cannot use the Web Colors as it is not 100% black.
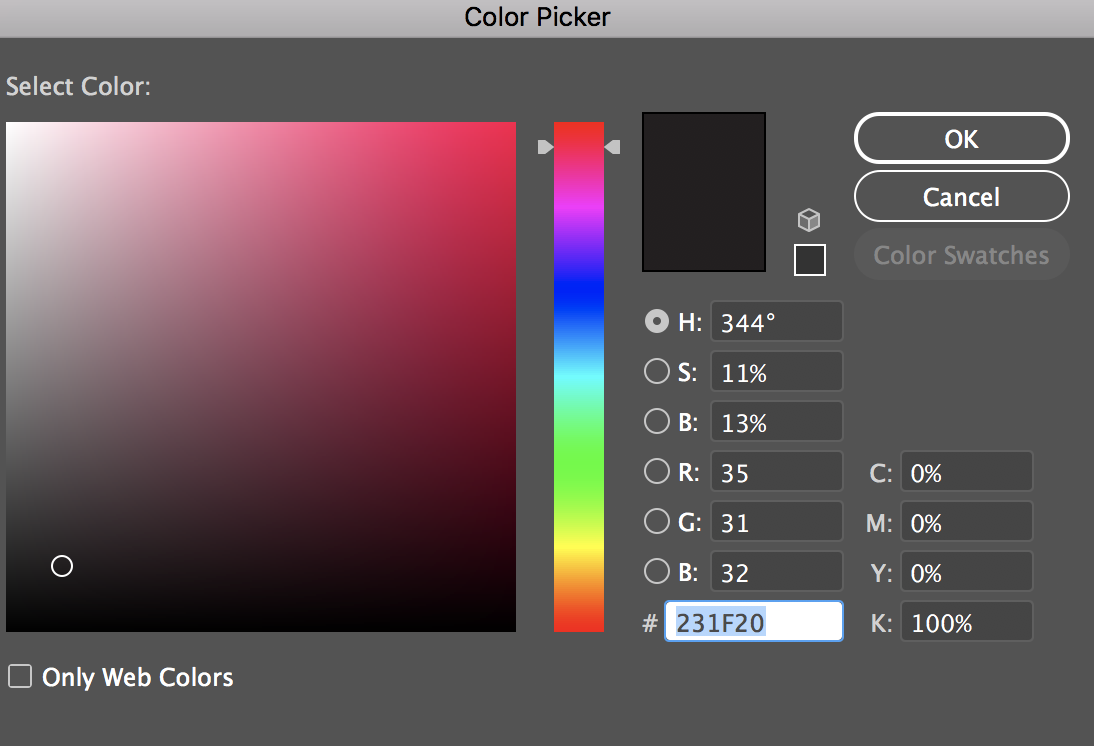
In Illustrator + Photoshop, go to File > Color mode > CMYK. Then select all the black artwork in the document. Make sure the fills and strokes are 100% CMYK black in the color palette (where K is 100% and CMY are 0%).
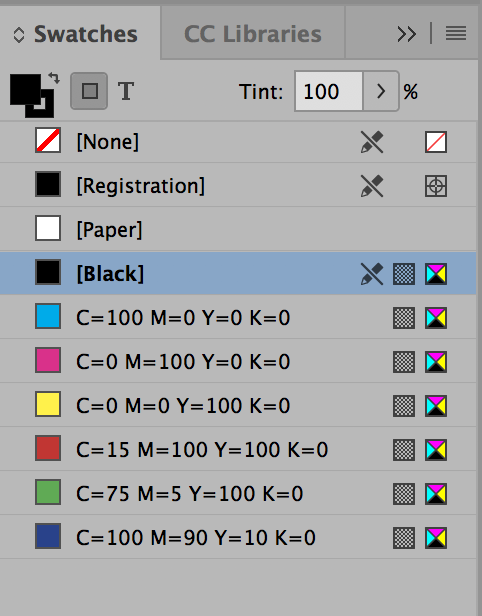
InDesign:
When choosing Black in your InDesign document be sure to use the swatch that is Black. Often there are issues when student pick Registration. Even though this appears to be black it is not 100% and will cause issues in your transparency.
 .
. 
Images + Artwork – Best Practices
Images: Vector images (from Illustrator or Freehand) work very well. For raster images (from Photoshop), avoid the grayscale color mode for your images. Use a 1200 dpi bitmap instead as outlined in our File Prep Tips
Dots and Lines in your artwork and text:
This is very important for your file prep. Plates have a minimum line thickness and dot thickness that will hold on the plate. Undersize dots and lines may or may not hold on a plate and when they do, they are weaker and may not hold up to printing for deep impression or long print runs. A dot can be above an “i” or “j”, a period, comma, apostrophe, punctuation, dashed or dotted lines, etc.
If you want a line art image, use bitmap mode (don’t use a line screen or halftone).
Most of the time, if your file contains an image, you’ll want that image to be in bitmap mode. Otherwise your image will produce a halftone, which means your image will be made up of tiny dots instead of being solid (presenting printing challenges and a jagged image).
Make sure your images are in bitmap mode by going in Photoshop and selecting Image > Mode > Grayscale. Then Image > Mode > Bitmap. When you bitmap files, use a resolution of 600-1200 dpi and a method of 50% threshold. Most likely the only time you shouldn’t bitmap your files is when printing a photographic image with numerous shades of gray (in this case, you’ll actually want the halftone!).
If file has linked images in Illustrator, embed them.
Before exporting to PDF make sure your Illustrator have embed all linked images (an option in the Links palette).
 Submission Process
Exporting as a PDF
You will be submitting your transparency as a Laser job. All laser jobs require a PDF for printing. We will not accept any other file formats. The file needs to be to size, meaning it should be able to fit on to the 8.5×11 or 11×17 sheet when printed.
You will need to reverse your files before submitting. We need your files and proofs to to be reversed when sending them for print. When we create your film negatives, we will not be editing your adjusting your file in any way.
Below are outlined the ways to export and save your document from Illustrator, InDesign and Photoshop.
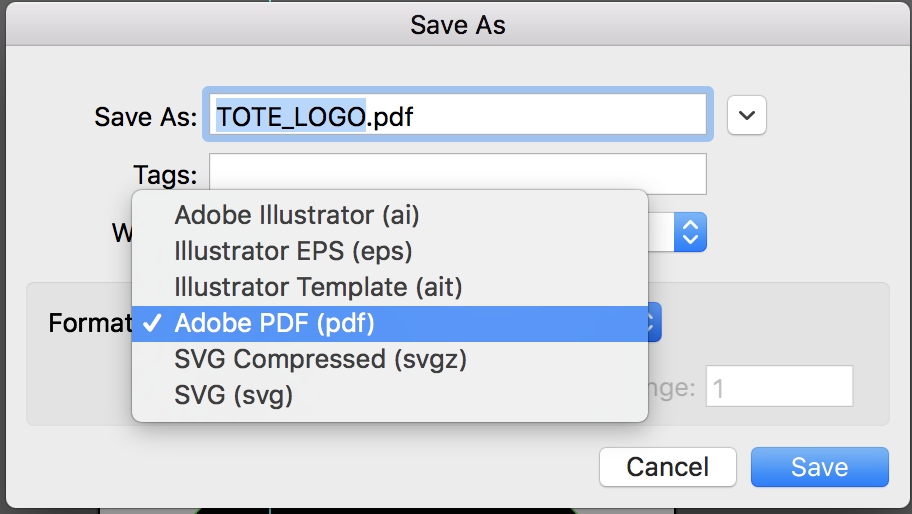
Illustrator> File> Save As
Choose Adobe PDF from the drop down.
A second window will pop up regarding PDF settings. This will be pretty much the same on all the Adobe software and details are outlined below.
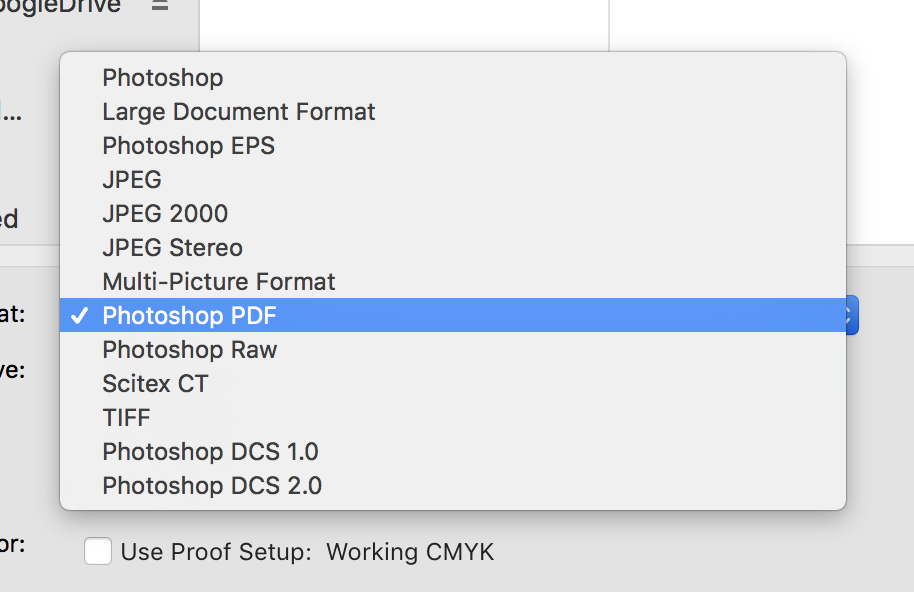
Photoshop> File> Save As
Choose Photoshop PDF.
A second window will pop up regarding PDF settings. This will be pretty much the same on all the Adobe software and details are outlined below.
InDesign > File> Export
Choose Adobe PDF (Print) – This option will open the dialog box we need. If you accidentally choose Interactive you will not see the pop up needed to save for high quality print.

A second window will pop up regarding PDF settings. This will be pretty much the same on all the Adobe software and details are outlined below.
High Quality Print – ADOBE PDF PRESET
Once the Save ADOBE PDF window pops up you will choose under Adobe PDF Preset: High Quality Print.
This will give us the best possible setting for a high quality print on the laser printers. Everything in this area by default should be appropriate for your PDF.
Simply click Export of Save depending on the software you are using.

How To Order
Order submission is through the Digital Storefront, choose Laser Printing and then Quick Print. Choose ‘Transparency’ as the Media.
If your file is not setup correctly we will cancel your order and email the changes that need to be made.