
Exporting Your Design – PDF Settings for Templates
Once you are done with your design we will require you to export to a PDF for submission.
Each template will come with a PDF with specific instructions included that let you know if it requires Crops and Bleeds. Please check each templates instructions for specific guidelines.
Below is the exporting process for any of our card templates.
Card Templates – Export to PDF
Card Templates do not require crop or bleed marks, however, you will need to make sure the “Use Bleed Settings” button is checked if your card is Full Bleed.
Go to File> Export
 .
.
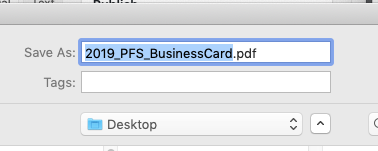
Rename your file so that you can identify it, and find it on your computer… your name or project name, version, etc.
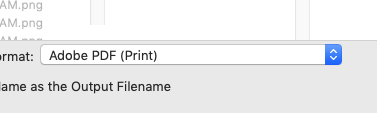
In the bottom of the window be sure to choose for Adobe PDF (Print).
Once you click Save another window will pop up that has tabs along the left hand side.
Please check the following three areas:
- General
- Compression
- Marks and Bleeds
- Output
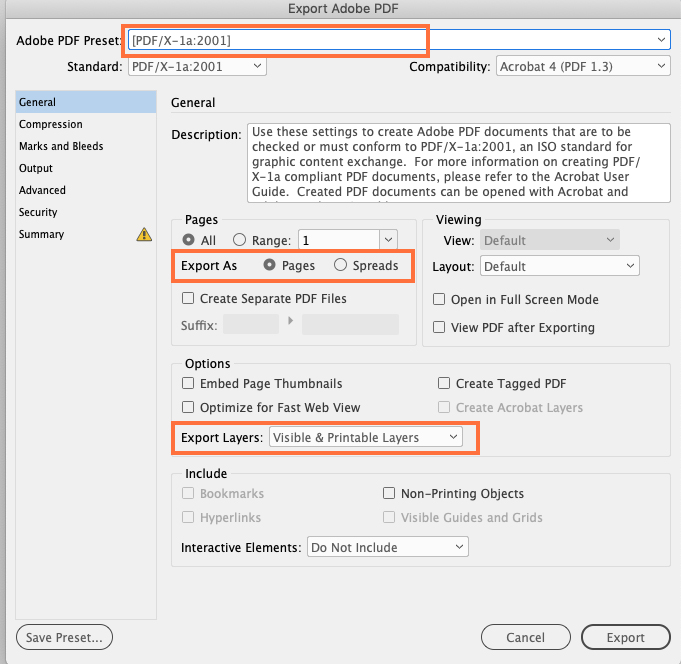
General
- Under the Adobe PDF Preset > PDF/X1a:2001 preset for printing at the Service Bureau.
- Pages: Pages (NOT Spreads)
- Export Layers: Visible & Printable Layers
Compression
When you are adding photos and other design elements to your file the size of the PDF you create can end up being very large. We do have a limit to the file size that we accept via the Digital Storefront and would like to keep the size of your file to a manageable level.
This window will downsample and compress your files to a size that is targeted to the limits of our printers and will not make your file any less quality when printed.
You can also adjust your files BEFORE placing them into InDesign to avoid any major changes to resolutions.
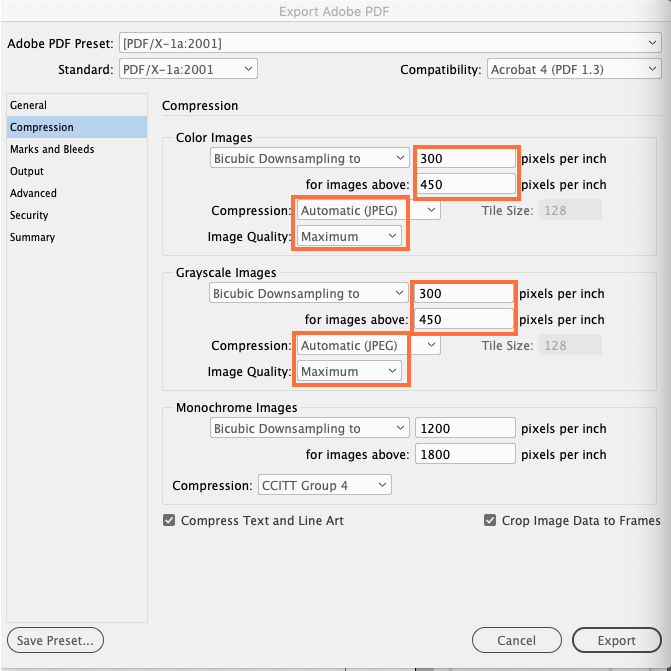
Bicubic downsampling to: is the slowest but most precise method, resulting in the smoothest tonal gradations.
Both the resolutions should be set to 300 pixels per inch which is plenty for the high quality printers we use.
Compression: Choose one of the three to compress your file. It will depend on the type of artwork you are using. We ask that you do NOT choose NONE as your file will be too large to process in our printing software.
-
- Automatic (JPEG) lets InDesign automatically determine the best quality for color and grayscale images.
- JPEG applies a compression that is best for images with tonal changes.
- ZIP applies a compression that is best for images with large areas of flat color.
Image Quality: Set to Maximum for the highest quality output.
Marks and Bleeds
The Marks and Bleeds setting is very important and the settings are dependent on the template you have downloaded and the product you are submitting. Be sure to check the setting needed in your Instructions.pdf.
For Full Bleed Templates you will always Check “Use Document Bleed Settings”.
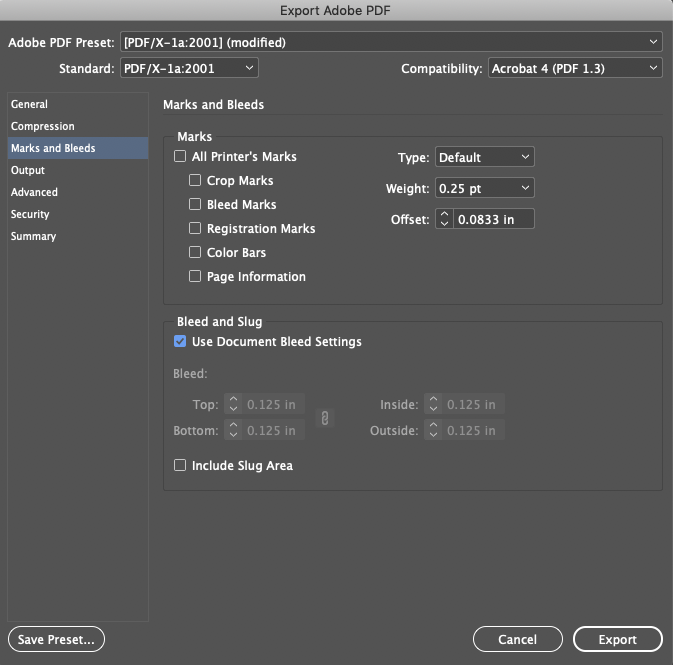
Marks – All are Unchecked.
Bleed and Slug – Check Use Document Bleed Settings
This means that your document will not have any cut or crop marks. We do not want any marks on your file since we drop this file into our software that will arrange multiple files on a sheet with it’s one marks for cutting in the machine.
We do not require crop or bleeds marks with our Premium Finishing Templates but we do require the Bleed Area for the Full Bleed products.
The Bleed area has been set up in your document before designing. Please review more info about Bleeds on our website if you are not sure you have adjusted your file correctly.

Output
Output Color Conversion: Change to ‘Convert to Desitination (Preserve Numbers) & set the Destination to ‘Coated GRACoL 2006’
Click ‘Save Preset’ to save settings for future use
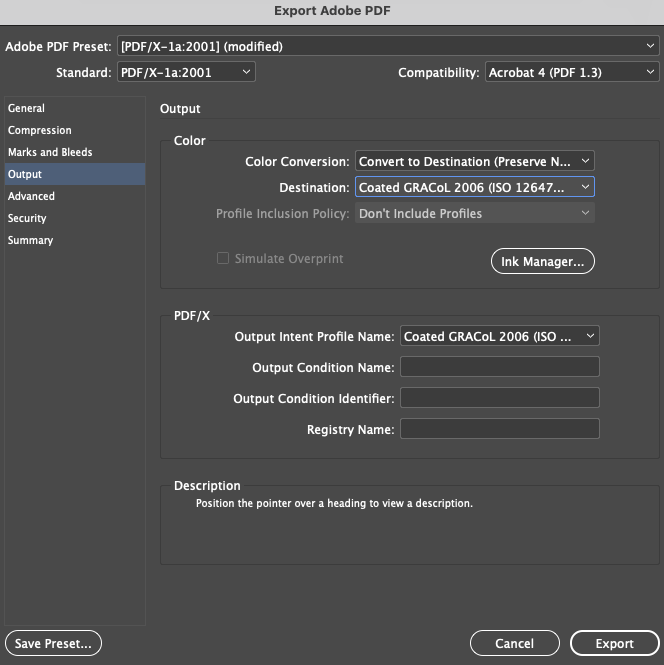
Click Export.
You will have a PDF ready for submission.
Please double check your files and make sure they are the correct size before submitting.