

Written by: Jack Wilson
If you ever find yourself wanting to make a 3D scan of an object but lacking any of the equipment necessary to do so, don’t fret. With a photogrammetry program and a lot of patience, anyone can transform a normal collection of photos of an object into a 3D model ready for use. I’m going to share the process I used to transform photos of a teddy bear into a digital 3D model, including even its own texture, using the photogrammetry program Agisoft Metashape.
Photogrammetry is the means of taking, measuring, and interpreting photographs to obtain accurate information about the real world. Many maps, drawings, and measurements have used photogrammetry to ensure their accuracy. Recently, Photogrammetry programs have advanced far enough to the point where they can measure a group of ordinary photos and interpret that information as a 3D model.
Before Metashape could do any of that for me though, I had to take a lot of photographs. I started by placing the bear in the light of a window. Then I took 144 photos to catch every angle of the Teddy bear. Agisoft requires at least 50-65 photos to make a somewhat accurate model, but the quality of the finished model will increase if it gets more photos. I was sure to circle the bear with my camera and take extra pictures of areas I was worried Agisoft would struggle with.

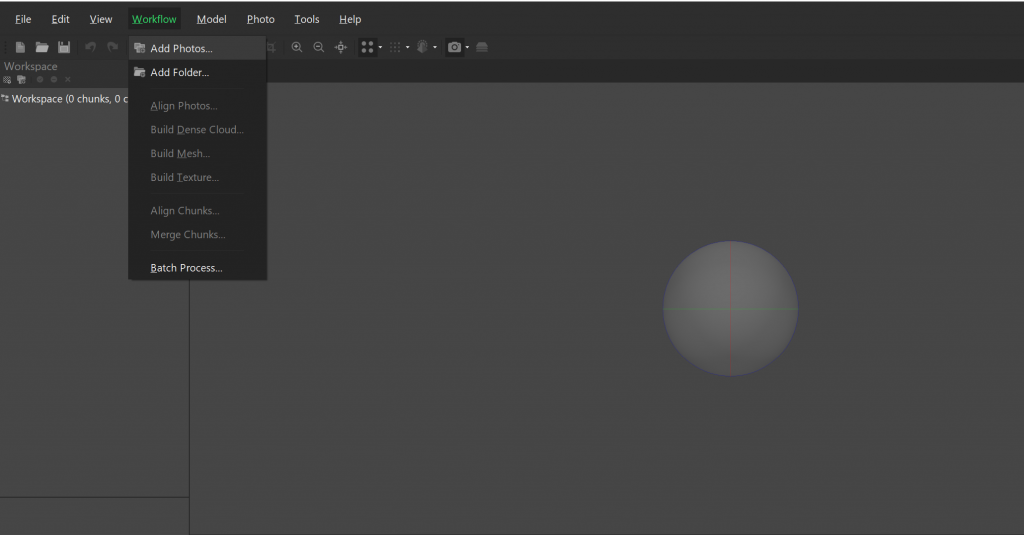
After taking the photos, I opened Metashape and uploaded my photos. Under “Workflow” there is the option to add individual photos or a folder of photos. Adding the first round of photos creates a new chunk within Metashape, and all of the photos added can be found in the window under the model viewer.
Next, align these photos into a 3d space. Under “Workflow”, again, is the option to align photos. Clicking on this will make an options window pop up. Generally, this is where I determined how accurate I wanted the end result to be since all future processes rely on this first step. There is the option to change the accuracy to either “Lowest”, ”Low”, ”Medium”, ”High”, or “Highest”. Metashape then spends some time putting the photos into place. It could take anywhere from five minutes to hours, or even days, depending on how many photos there are, which accuracy setting was selected, and how strong the computer doing the process is. When it’s finally done, a cluster of points and blue rectangles will fill the “Model” window. Metashape will also tell you how many photos it was unable to align after this process.
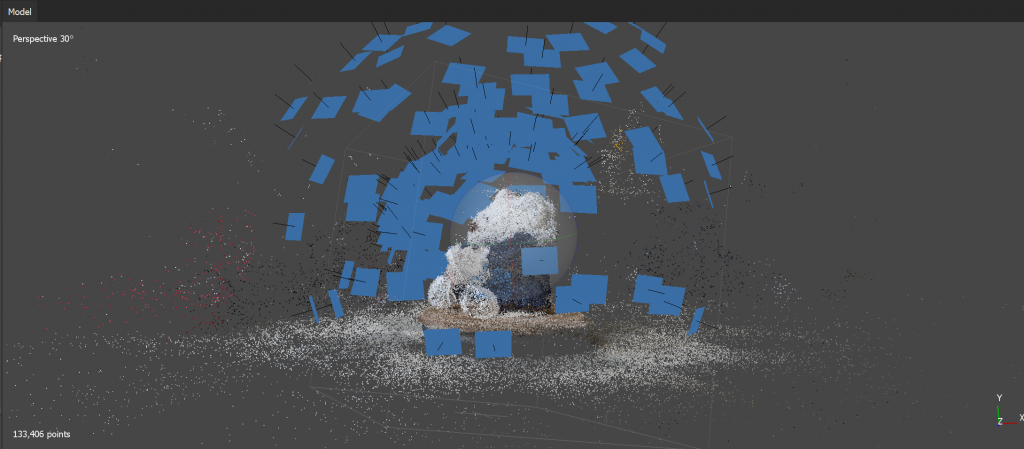
The blue rectangles represent where Metashape thinks a picture was taken while the point cloud should make an accurate impression of the object photographed. You can examine the cloud by rotating the transparent grey ball in the center of the window to rotate the scene and right-clicking to pan your view. Scrolling will affect the zoom. My bear came out quite nicely in this case, but I wanted to squeeze more information out of the photos. So, the next step was to build a dense cloud, which I could do under “Workflow”.
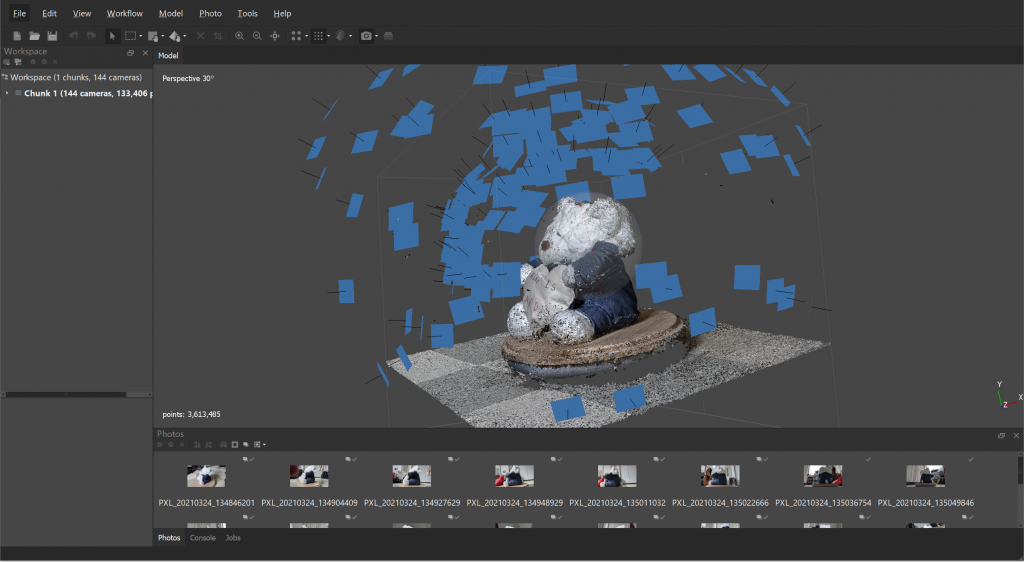
At this point, Metashape will most likely have a near-perfect representation of the object or scene you pictured. If you want to look at the results at any point without the cameras in the way, clicking and deselecting the camera Icon in the toolbar will hide the blue rectangles. After getting the dense point cloud I started to build the mesh. This option is, again, under “Workflow”. You can choose to build the mesh from the sparse cloud or the dense cloud. There is also an option to control how many faces the mesh will have.
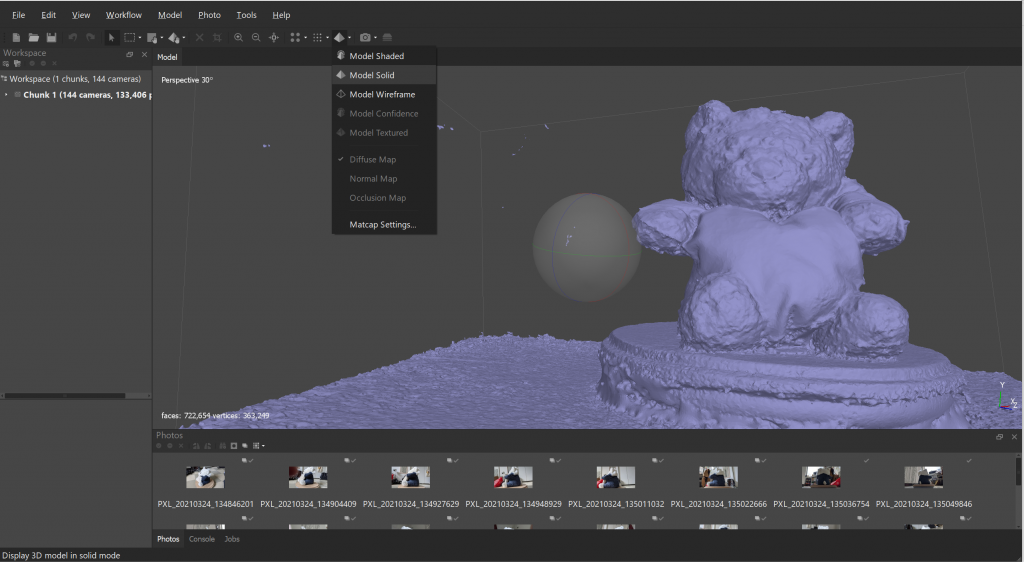
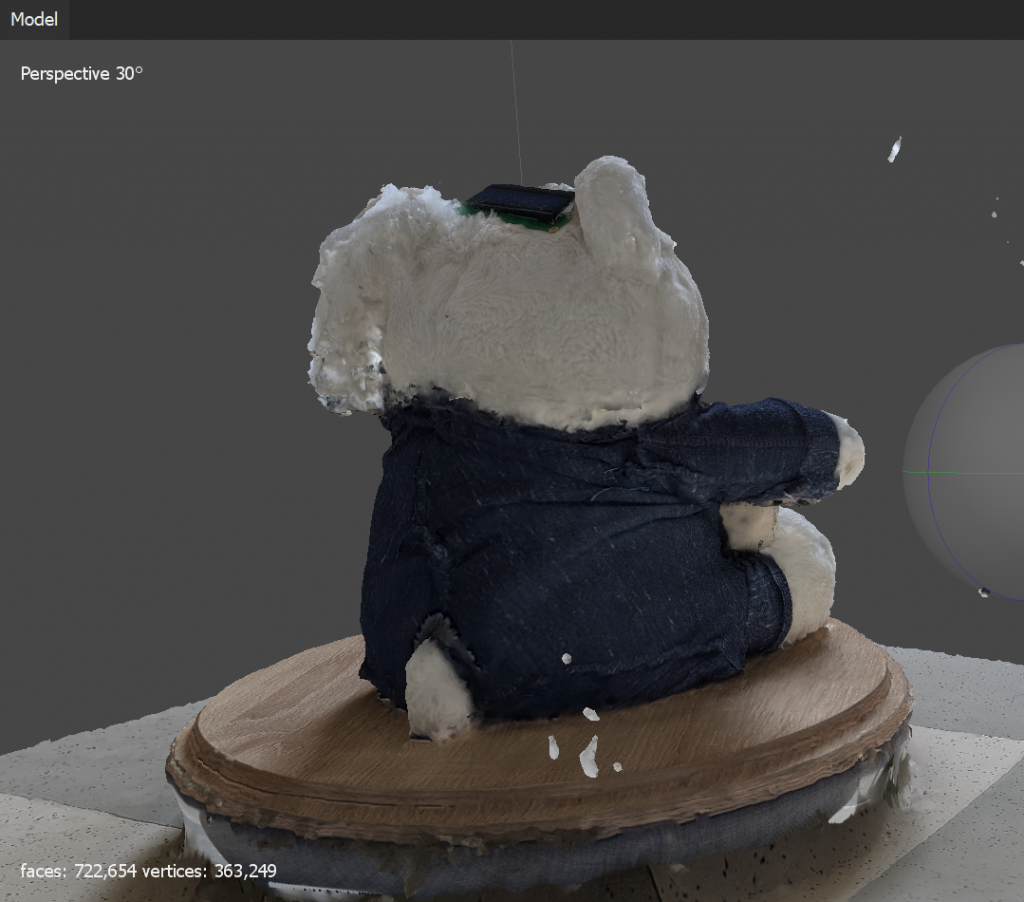
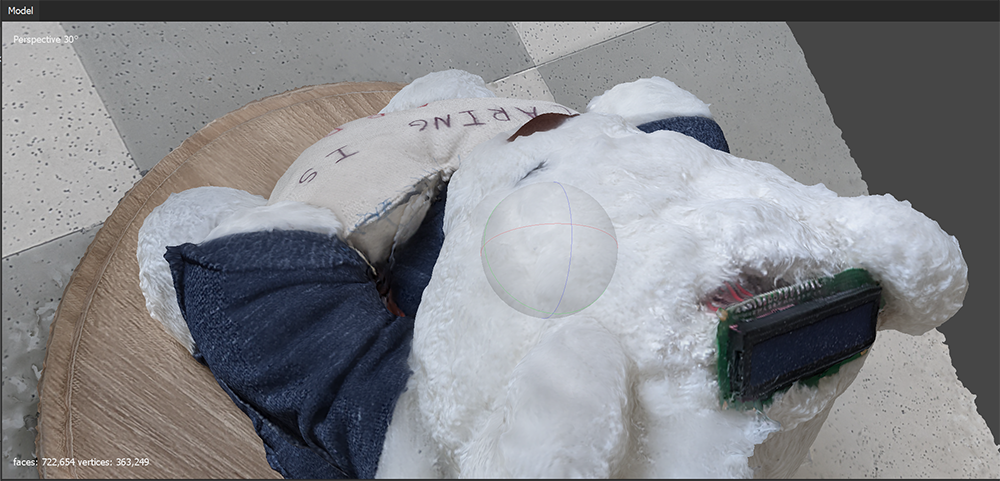
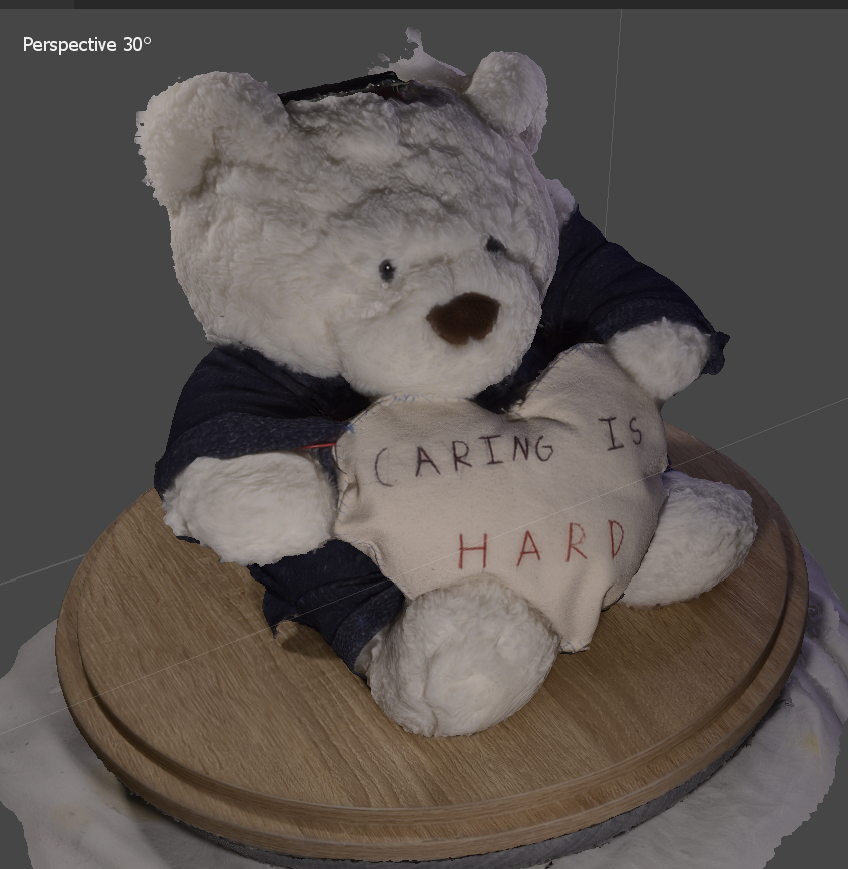
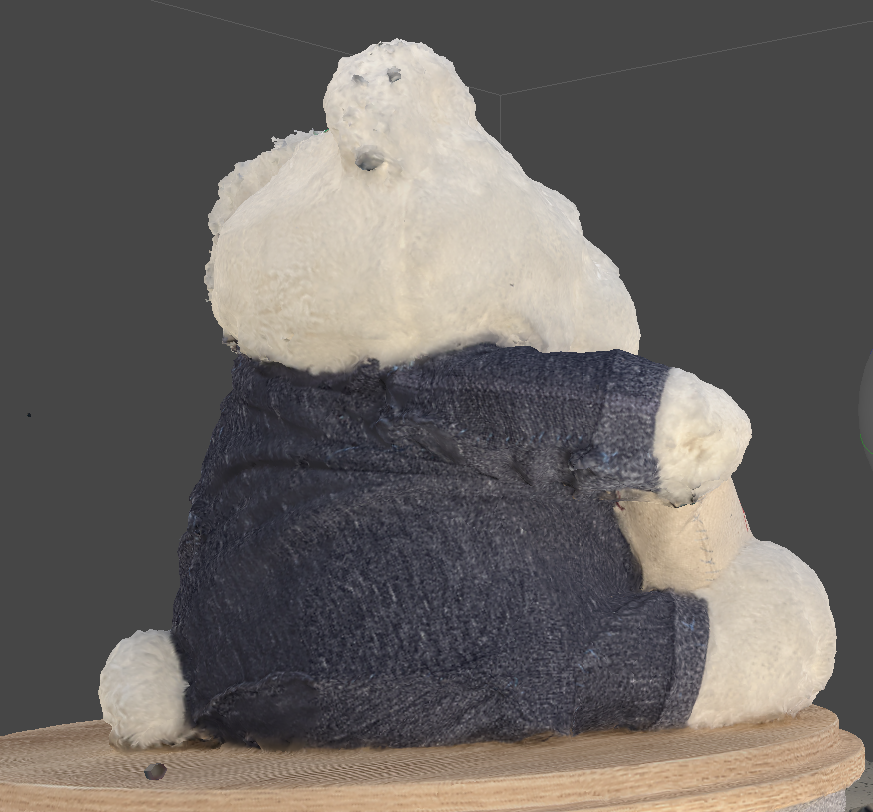
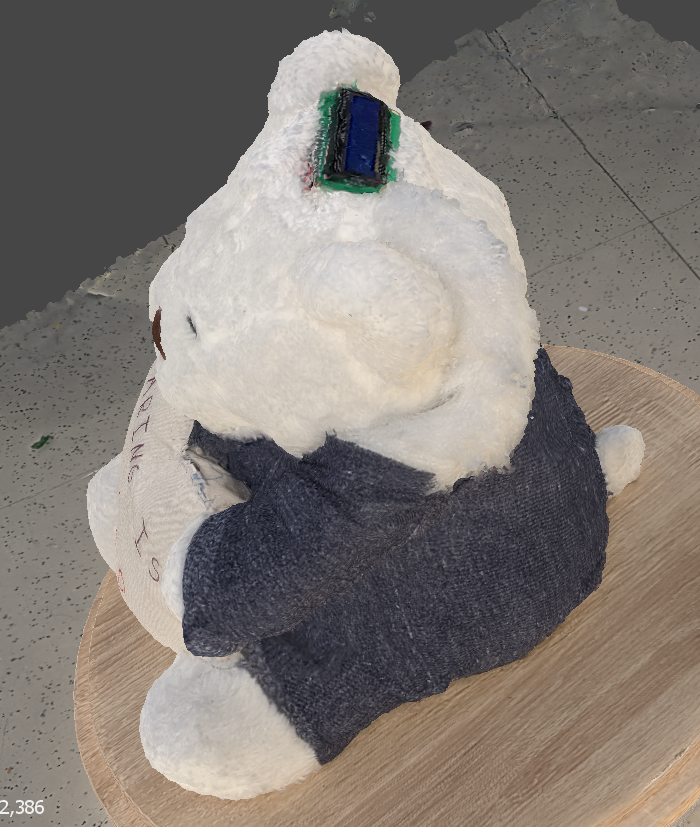
With the mesh of my bear, I can change the model view to “Model Solid” and see Metashape’s imperfections. The hard canvas of the heart and the fabric of the clothes are depicted almost perfectly, but the fur is bumpy and sporadic instead of being soft, or smooth. Metashape does a great job translating hard, matte surfaces and amazingly can capture the form of things like bark or stonework in the meshes it generates. Where Metashape struggles are with thin strands, like hair or fur, and reflective or translucent materials. Sometimes the program gets confused and creates a texture where there shouldn’t be one, such as on the floor in my example. However, Metashape has one more step that covers up the flaws of the model.
Creating a texture to wrap around the model.
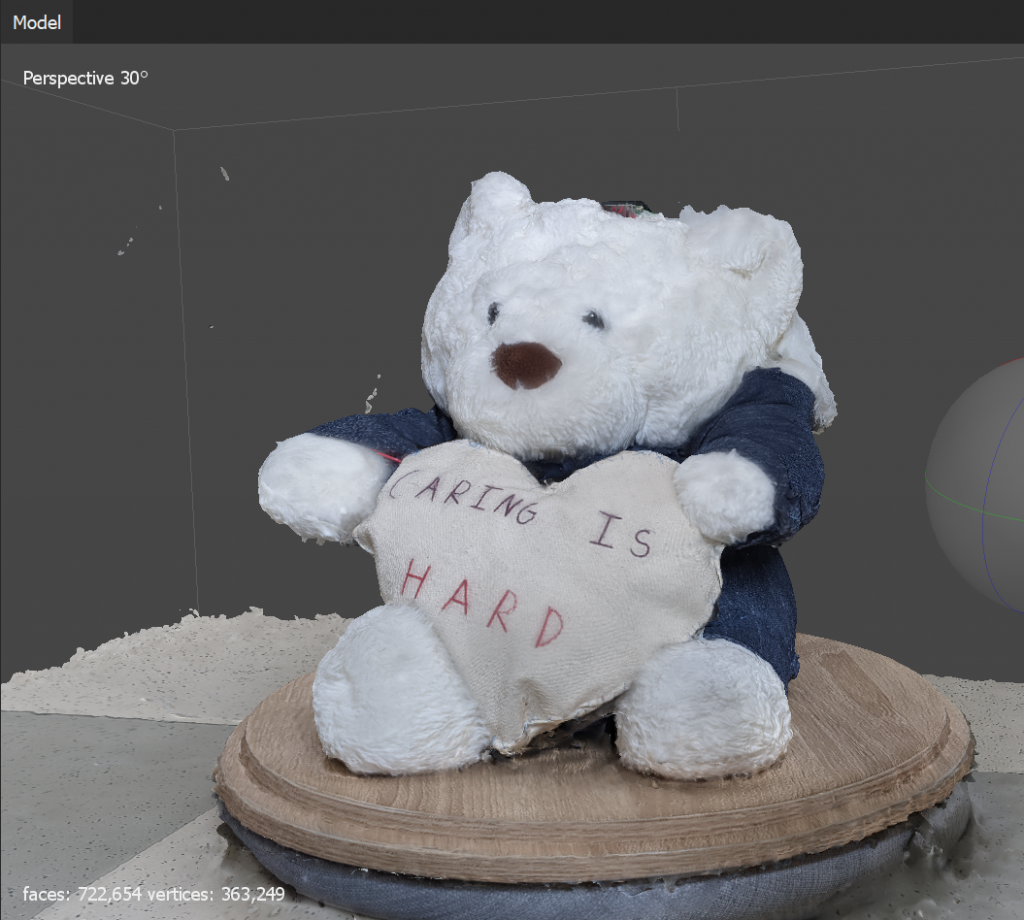
When making a texture from “Workflow” Metashape lets you choose how big the texture can be and defaults to a 4096 (4k) pixel square. The texture wraps around the model and creates the illusion of details that couldn’t be represented in the model. This includes color, lighting, and the finer physical elements. My finished model is only bumpy where it needs to be and smooth everywhere else. The stitches of the canvas, the speckles in the fabric, and even the fur on the Teddy bear are all reproduced from the photographs. This digital teddy bear almost looks exactly like the one I photographed!
All that’s left to do is export the model, points, and/or texture!
Now, if this model was put into a different digital scene, the lighting in the texture’s illusion of lighting may conflict with the lighting of a different digital environment, or perhaps the floor would troublesome to work with. The issues with the texture lighting have to be resolved at the start of taking photographs since Metashape uses the photos to build the texture for the model. Any unwanted aspects to the model can be removed in Agisoft at any part of the workflow.
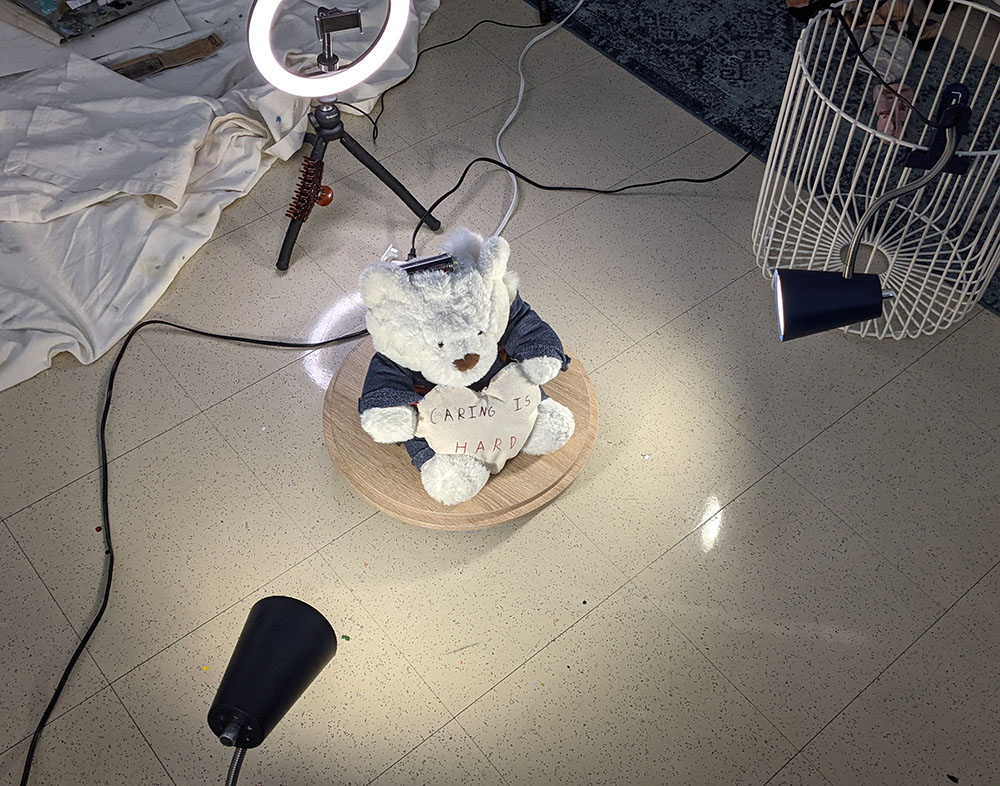
For my next model, I wanted to have an evenly lit texture. To do so, I would need to evenly light the Teddy. Traditionally, a cloudy day or studio lights set up with softboxes do a great job creating soft, even lighting for photographs or cinema. Without clouds or any lighting equipment, I tried my best with two desk lamps and my roommate’s ring light.
I took my photos with a DSLR camera this time as well. Since the camera had a variable zoom lens, I had to be to keep the lens at the same zoom during the shoot. Lens distortion can mess up Metashape’s measurements. I was given a pop reminding me of such when I uploaded my photos into Metashape.
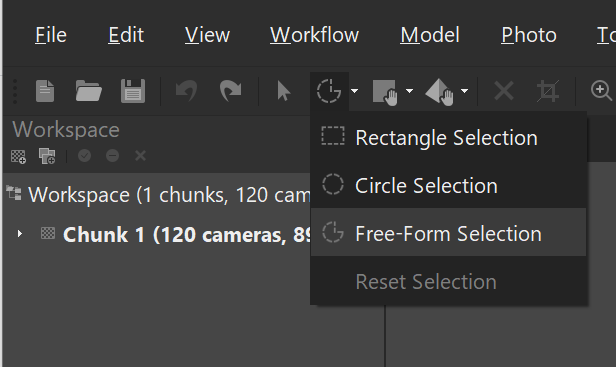
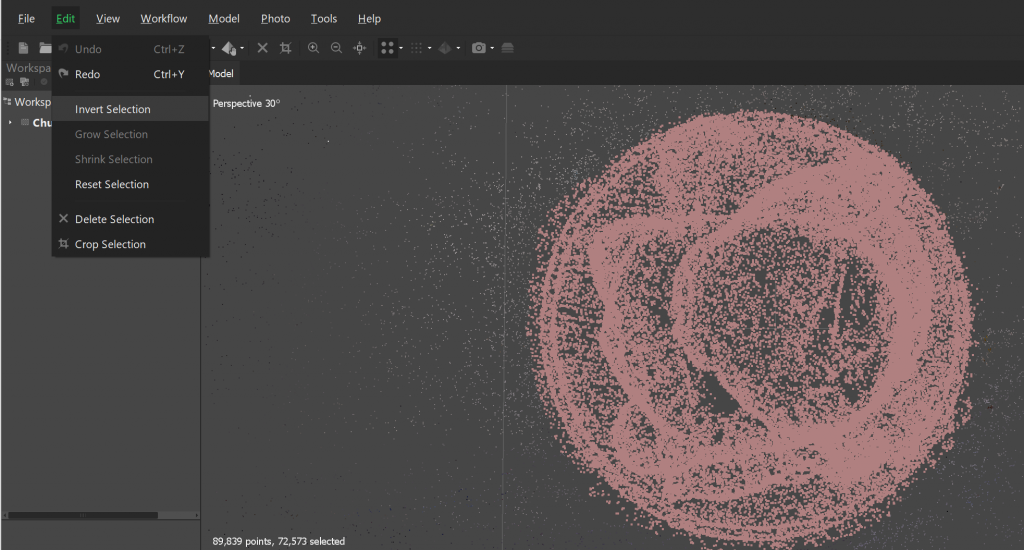
Once the photos were aligned and the point cloud was generated, I decided to get rid of all of the extra information I didn’t want to keep. Points can be selected with any of the selection tools to then be cropped or deleted. I selected what I wanted to keep, then inverted the selection so I could delete everything I didn’t want.
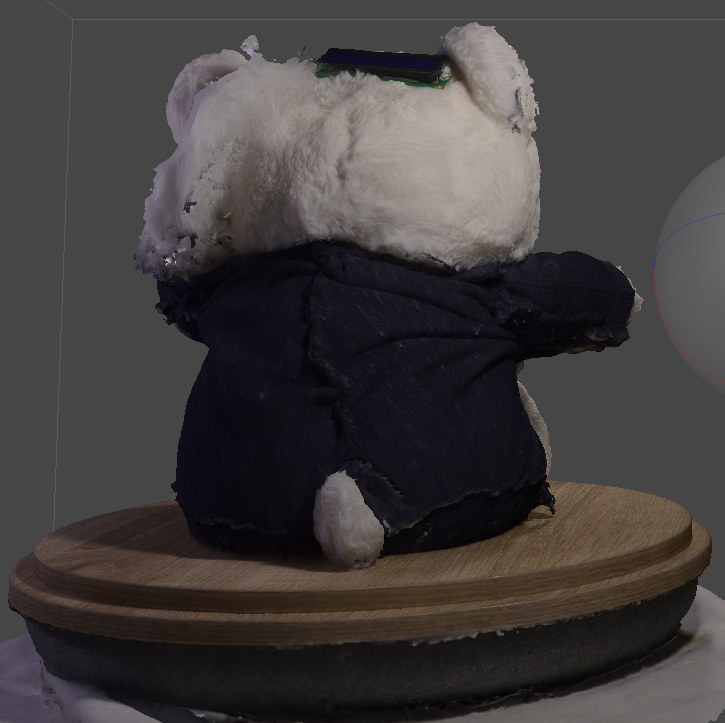
I then made a dense point cloud, got rid of all of the extra information, made a mesh, and a texture. The resulting model was less than ideal. It was dark and, most importantly, the lighting was still pretty uneven.
I did not give up, however, and tried using my phone camera again, this time with flash. Every photo I took with flash would light up whichever side my camera was facing. To Metashape, that’s almost like having 120 different light sources for this one model.
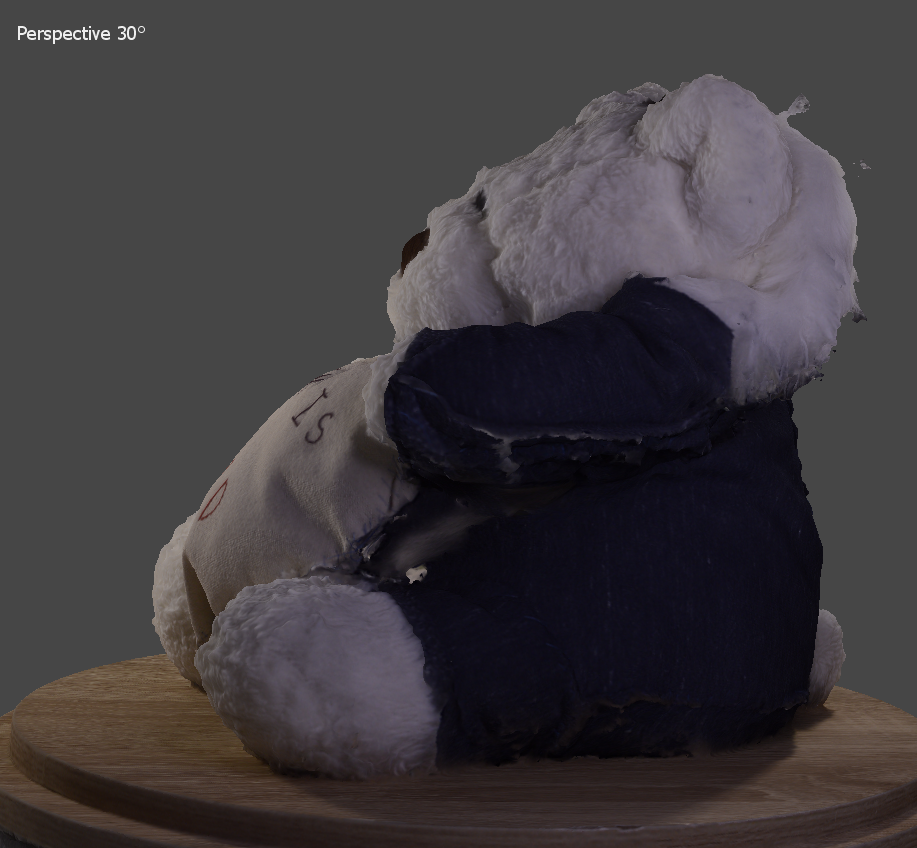
I took the photos, went through the Metashape workflow, and made my new model. It did not disappoint.
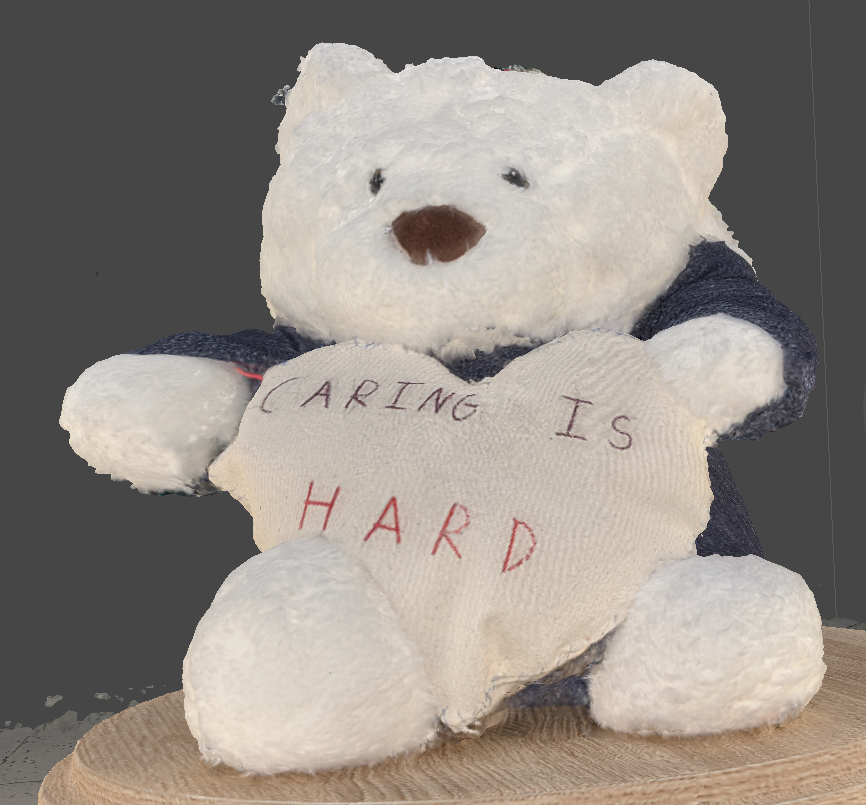
It’s not perfect, I will admit. The model is a little messy underneath the texture. The texture it’s self is much better than the other two, but there are errors and the occasional dark spots. However, given the easy access to equipment, straightforward process, and superb result, I was more than happy with Agisoft Metashape.