We have created a set of print templates for many of our products to assist our users in the file set-up process. The Service Bureau is not liable for reprints if you fail to follow any of these directions.
| QUICK LINKS | TEMPLATE DOWNLOADS |
| GENERAL GUIDELINES | DOWNLOAD INSTRUCTIONS |
| DESIGN + ARTWORK CHECKLIST | CARD TEMPLATES DOWNLOAD: Business, Exhibition, Postcard |
| FILE SET UP OVERVIEW: Full Bleed vs. No Bleed | CREATING A CUSTOM TEMPLATES |
| EXPORTING TO PDF FOR TEMPLATES | HOW TO BOOKLET FOR CARDS |
GENERAL GUIDELINES
Download one of our InDesign templates, design your card and then export a PDF for submission.
Not just for bragging, all our card options are the perfect tool for all things promotional – from inserts and exhibition announcements to wedding invites and holiday cards.
Cards are printed on the Laser printers. Due to the nature of color laser printing, colors will shift throughout the day and from day to day. We are unable to exactly match prints made at separate times. Not all visible elements are able to be printed, some vibrant colors and gradients are not able to be rendered well. Using the recommended PDF export settings & color profile (CMYK – Coated Gracol 2006) will help get the closet possible print. There is a $5 cutting fee applied to all card orders, this means the more cards you order the cheaper they will be per card.
Card Templates
We offer templates for all of our cards to make it easier for you to get the exact product you need. You submit one card, front and back and let us know how many you need. We gang them up on a larger sheet, cut them with a machine so they are exact and box them up for you.
These templates let us to do the heavy lifting and cut the cards for you! This has an added charge of $5 dollars for cutting.
Submitting orders using the templates will be done through the DSF under the Cards section.
DIY Cards (Cut It Yourself)
If you only want a few cards and can handle the cutting at your end of things we offer a set of templates for you to use and export yourself and then submit via the Quick Prints product.
It must be noted we will not cut these templates even if you mark cutting in the submission process of the Quick Print product. If you want us to cut your cards you will have to use the Print Templates and submit through the Card product.
HOW IT WORKS
Download Template > Edit InDesign File > Export PDF > Submit for Printing
Download the desired Card Template package and follow each templates instructions.
All folders include a Instructions.pdf for usage and exporting information.
Templates are available as InDesign. Additional instructions on creating and saving your file are included in the template package.
All of our templates are specific to the way the Service Bureau processes, prints and applies finishing/cutting/folding to your order.
Using templates downloaded from another website will not work. Period. We have our templates fine tuned to the millimeter with our printing software and cutting machines.
Before getting too far into your design process we suggest looking at both the Design Checklist + Artwork Guidelines below.
HOW TO DOWNLOAD TEMPLATES
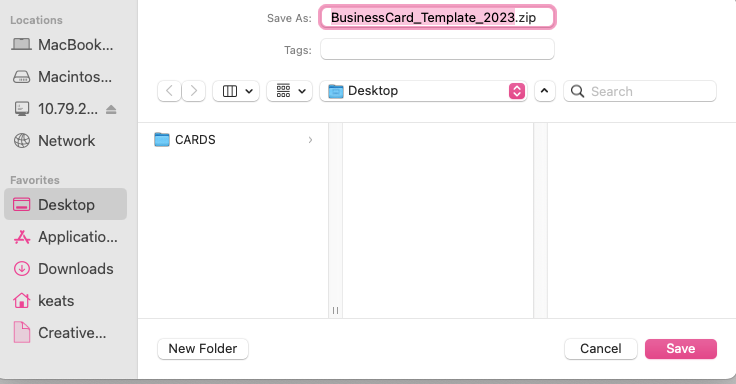
Simple click on the link and you will be directed to download a ZIP file to your computer.
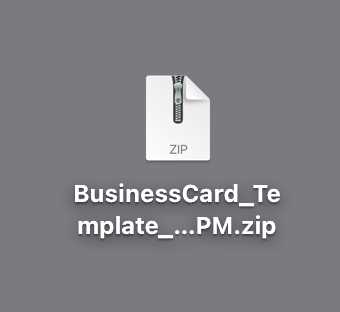
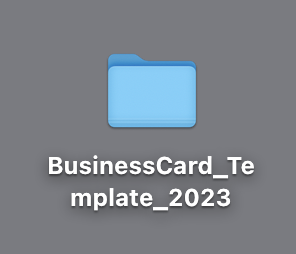
Double click on that file and a folder with the templates, sample files and an Instructions.pdf for that product will appear.
TEMPLATES
There will be both InDesign and PDF sample files along with an Instructions.PDF in each template folder with detailed instructions for how to use the template.
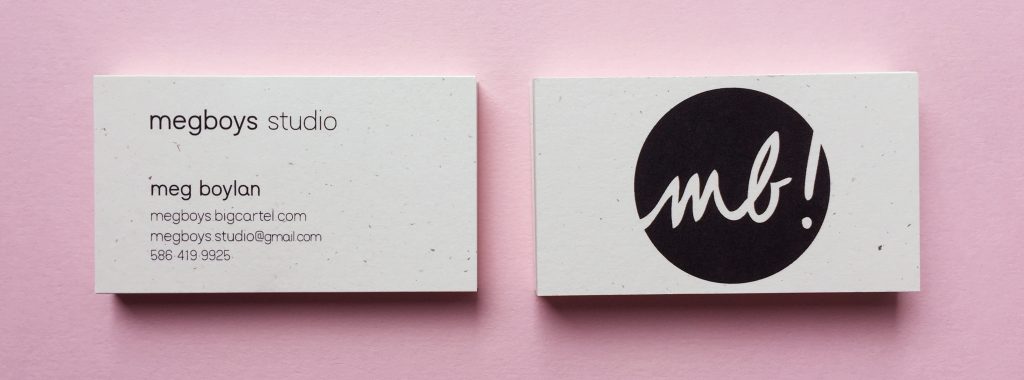
Standard Business Card: Final Card Size 3.5″x 2.0″
No Bleed – PDF Size Submitted – 3.5″x 2.0″
Full Bleed – PDF Size Submitted – 3.75″x 2.25″
Exhibition Card: Final Card Size 5″x 7″
No Bleed – PDF Size Submitted – 5″x 7″
Full Bleed – PDF Size Submitted – 5.25″ x 7.25″
Postcard: Final Card Size 6″ x 4.25″
No Bleed – PDF Size Submitted – 6″x 4.25″
Full Bleed – PDF Size Submitted – 6.25″ x 4.50″
Greeting Card: 5.5″ x 4.25″ card
No Bleed – PDF Size Submitted – 5.5″x 8.5″
Full Bleed – PDF Size Submitted – 5.75″ x 8.75″
5.5″ x 8.5″ sheet creased in half to yield a 5.5″ x 4.25″ card.
DIY TEMPLATES
These templates are DIY / Do-It-Yourself… meaning you will be cutting out the artwork on your file.
8-up Business Card
2-up Postcards
4-up Labels
CUSTOM TEMPLATES
If you have a project that does not fit into one of our templates and is a custom size we can create a cutting or creasing template for our Duplo Cutting machine for an additional $5 per order.
Please email us or schedule a consultation and we will assist with setting up a custom finishing template for our cutter.
- Must follow regular card formatting: setup desired final size as your page size on computer, export with 0.125″ bleed area on each side if a borderless card is desired, no crop marks
- Submit on the storefront using the closest size card product, (ie if you desired card size is 5×9″ use the Exhibition Card size: 5×7″) once your order has been submitted we will email you with a cost estimate
- In the ‘Special Instructions’ let us know ‘Custom Card Template’, your desired quantity & final card size (if full bleed the PDF size should be 0.25″ bigger because of the included bleed area)
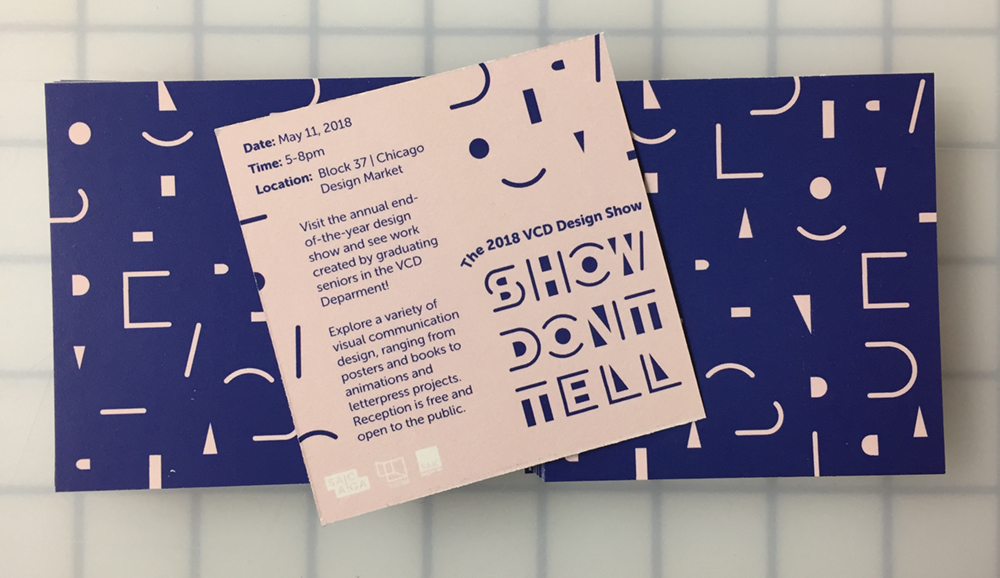
Our DC-616 Pro Slitter/Cutter/Creaser offers custom cutting and creasing. We gang up your artwork on a larger sheet, measure where cutting needs to happen and run it through our Duplo Pro which is designed to cut and crease at those measurements. There are limitations in the number and spacing of cuts and creases available, this will determine how many cards per sheet are possible.
DESIGN CHECKLIST + ARTWORK GUIDELINES
 TextKeep all text at 8pt or higher. |  ImageryMake artwork a vectorPDF/photographs at 300dpi or higher. |  Crop MarksWe don't need them!We add our own in the places we need them. |  LinesSharp lines need to be at 0.5 or thicker. |
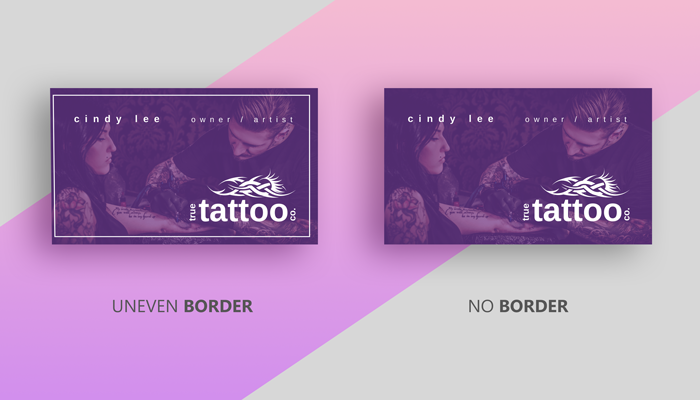
Do not add borders to your design. !!!
This is our #1 no-no.
A delicate border around the edge of your cards may look great on screen, but that same border can look off-center on the final product.
Generally speaking, borders are not recommended because slight shifts can occur during cutting. For small products such as business cards, even half a millimeter of cutting shift can cause the borders to look uneven.
If you really love the idea of having a border design, choose either a thick border that extends to the edge of the artwork file and well within the safety zone, OR choose a thinner border that is contained entirely within the safety zone.
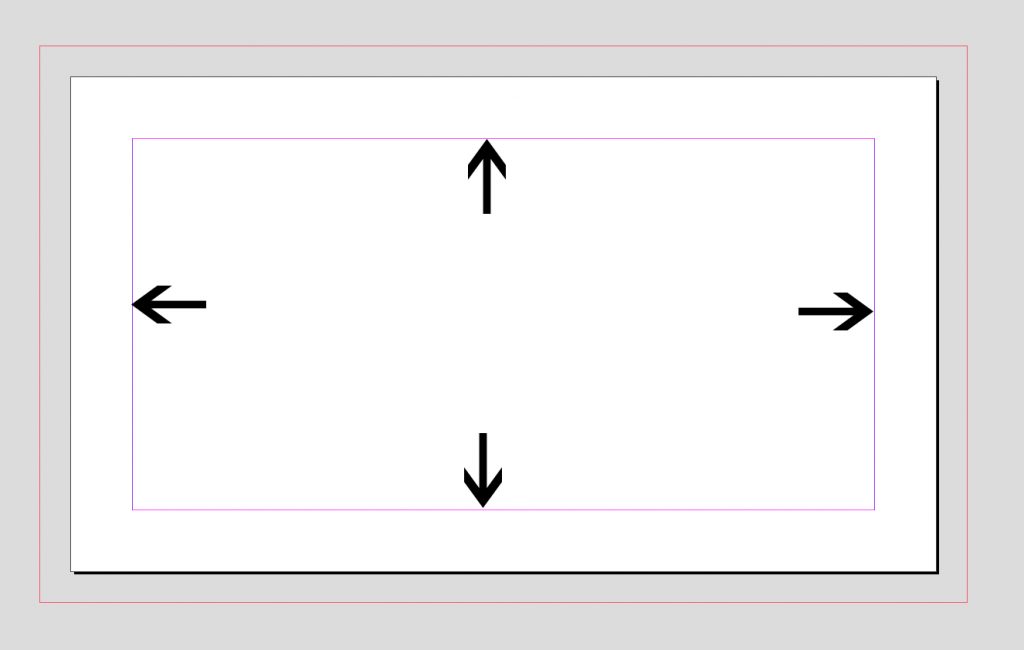
Make sure your text is inside the safe area.
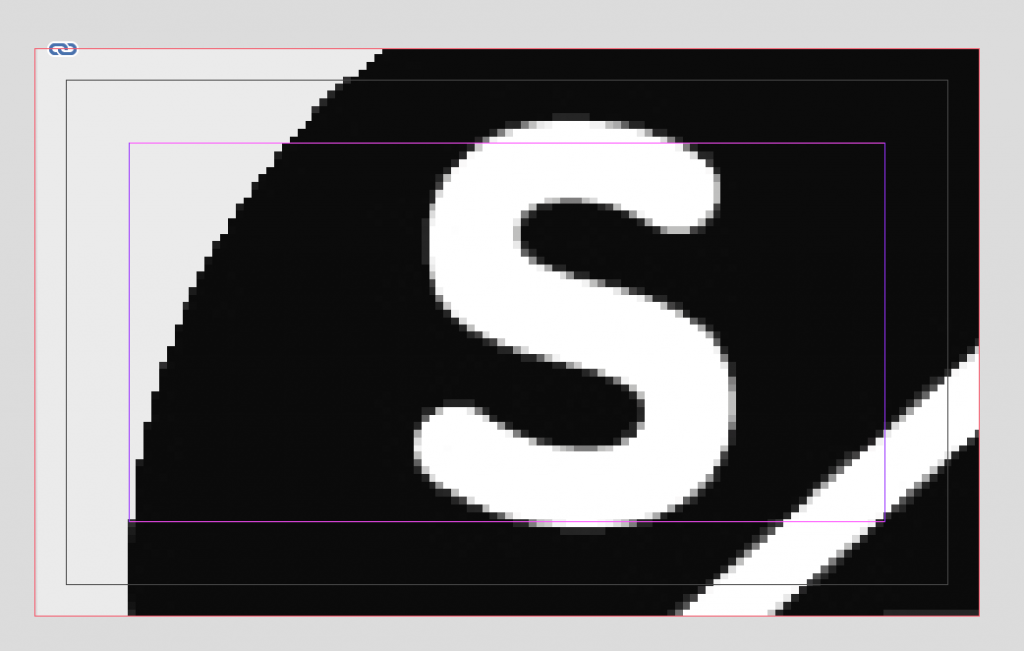
The “safe area” is designated using margins in the InDesign template and is shown as a pink line. By putting text or design elements past this line you run the risk of being cut off or appearing too close to the edge of your card or booklet.
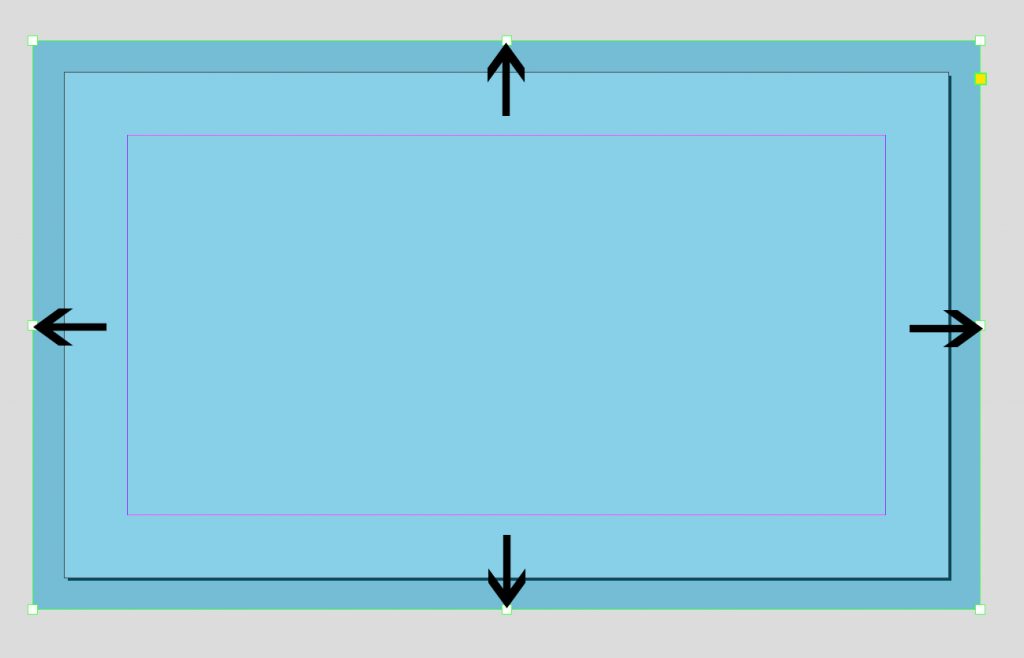
Make sure your image is full bleed if you are wanting the image or design to look like it is going off the edge of the card.
If you have elements of your design that extend all the way to the cut line, make sure that in your file you extend them past the cut line and all the way to the bleed line to ensure that there is no white border on the final product.
Whether you’re using a photo or a solid color, you’ll want to make sure that the background of your design extends through and fills the bleed area.
Even leaving one edge too short will result in ugly white edges on one edge of your final product.
When using photos you’ll want to make sure there is plenty of extra space around the focal point of the image, so the unimportant part of the photo can fill the bleed area and the important part is in the safe area. We don’t want anyone’s head to get cut off.
Make sure your design is the right size and resolution.
Make sure your design is the right size. Each template will have a final size that is required for the finishing whether it’s cutting or folding.
If it doesn’t fit, we will cancel your order and ask that you resubmit.
Likewise, if your design is blocky or blurry on screen, you need to get a higher resolution file and start again.
If you are uploading photography or non-vector artwork (e.g. JPEGs), please make sure they are no less than 96dpi (ideally at 300dpi). If your designs are a mix of photography and design, make sure the embedded photographs used are above the recommended resolution to avoid pixellation.


