Please follow the instructions carefully. If your files are not submitted correctly we will cancel your order and ask that you resubmit.
Download the desired template package from the main Print Templates page and follow the Instructions.pdf included for usage and PDF Exporting information that is included in each folder.
Artwork Placement
Upon opening the InDesign template file you will see a document the size of the finished product.
Depending on which template you have decided to start with you may have more than one page in the file. Several templates may required you to add pages to your file to complete your product. Saddle Stitch Books would be an example of this.
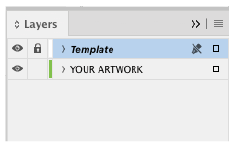
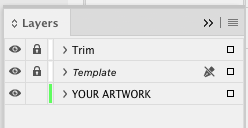
There will be multiple layers in the file with general instructions on where to put artwork to assist you.
Your Artwork: All images, text and design elements you are adding will go here.
Template: This layer will have elements that are meant to help you place your artwork in a specific area. It will require you to turn this off or delete when it is time to export so that any blue safety lines do not show up in your artwork.
Crop Marks: These appear in our DIY templates only.
Trim: This layer will be present on the DIY templates that are showing you where you will need to cut. Examples, include the button template.
Guides and Margins:
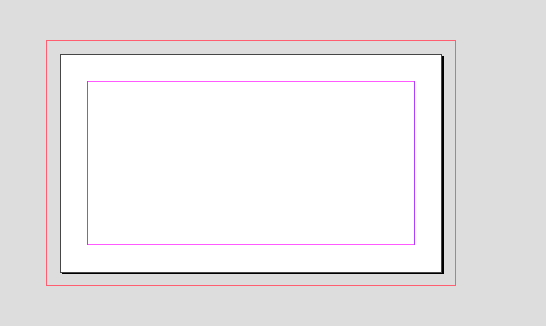
There will also be a set of guides or lines to indicating important areas to pay close attention to as you start designing and adding content.
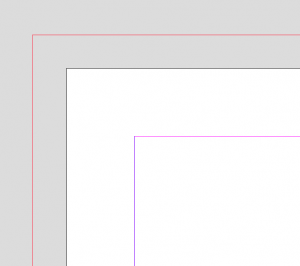
Bleed Area
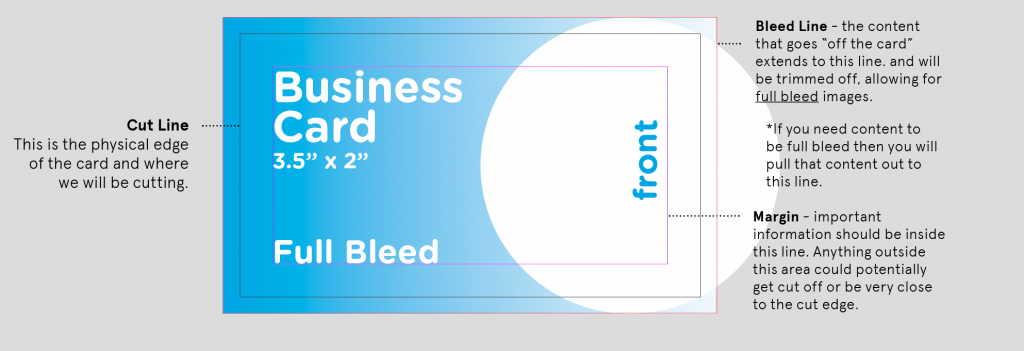
Make sure your background extends to the red line to fill the bleed area and avoid white edges when cutting if you are using a Full Bleed Template.
Trim
This is the black line and this is where cutting will happen.
Safe Area
Magenta line is where important information like text and logos should be within to avoid being cut off.
Before getting too far into your design process we suggest looking at both the Design Checklist and Artwork Guidelines located on the print template main page.
Full Bleed vs. No Bleed
Depending on the product you decide to work with you may be asked to choose between two different templates: Full Bleed vs. No Bleed.
Below are details on how those two types will affect the way you setup your file. Specific instructions will be inside the package folder of each print template. You can read more about Crop Marks, Bleeds and Borders here.
Full Bleed
Full Bleed is if you have an image or a design element that you want to look like it is going over the edge of your card. It requires you to pull those elements whether it’s an image or a block of color out to the Red Line of the InDesign file before exporting.
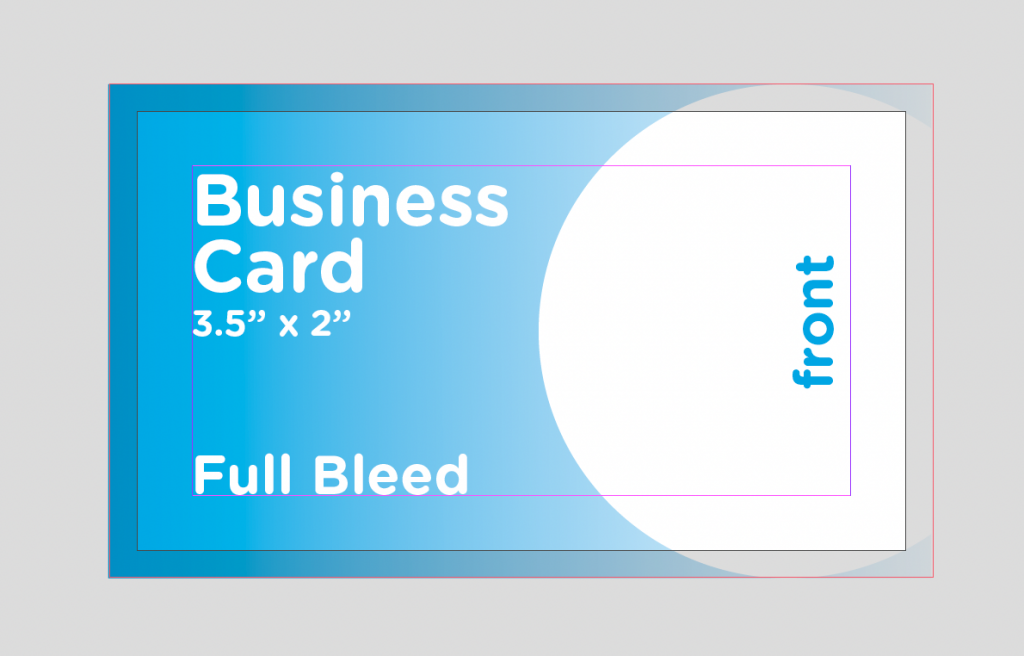
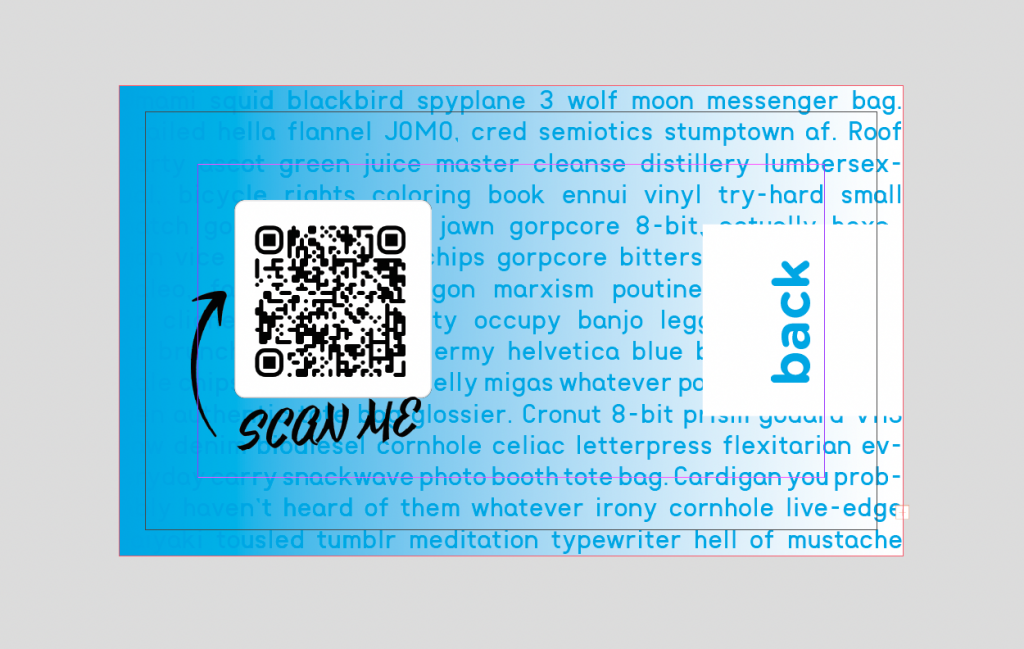
Below you can see how the front and the back of our cards are set up and what they would look like if you require a bleed. This is a 2 sided Business Card since we have 2 pages in the document, the front or page 1 and the back, page 2.
Notice the image has been pulled all the way out to the Red line for the bleed so that it will be a full image.
The area outside the black line will not appear on the card and will be discarded when cut.
We have been clear to leave the text far away enough from the edge that no important information will be cut off or too close to the edge to be legible.
Once you are ready you can read how to export you file to PDF here.
No Bleed
Does not require anything special other than you will want to make sure that your important information is not too close to the Trim line and that you are not exporting with crop marks or bleed areas.
The final size of your card when exported will be 3.5″x 2″.
Once you are ready you can read how to export you file to PDF here.
Previewing your Artwork
Once you have all your design elements in your file you can Preview your file to make sure areas of your design are ending up in the correct spot and not too close to the edges or risk the potential of getting cut off during processing.
In your InDesign file you can to to the View menu and drop down to Screen Mode.
Under this 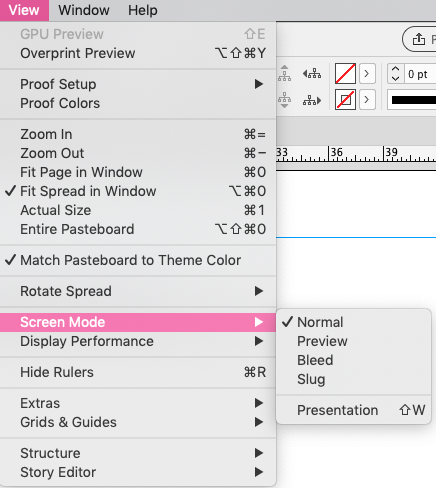 menu option you have a few options. By default you are viewing in Normal mode.
Normal Mode – Shows all artwork, guides, bleed areas and trim lines.
Preview Mode – This will display your file as the final print file will be seen. If you are using a Full Bleed template it will show you what areas of your artwork are going to be cut off during processing.
Preview Mode will show you how close your type or design elements are to the edge. Ensure all important parts of your design are kept within the safe area.
If everything looks good you are now ready to Export as PDF for submitting for print.
